
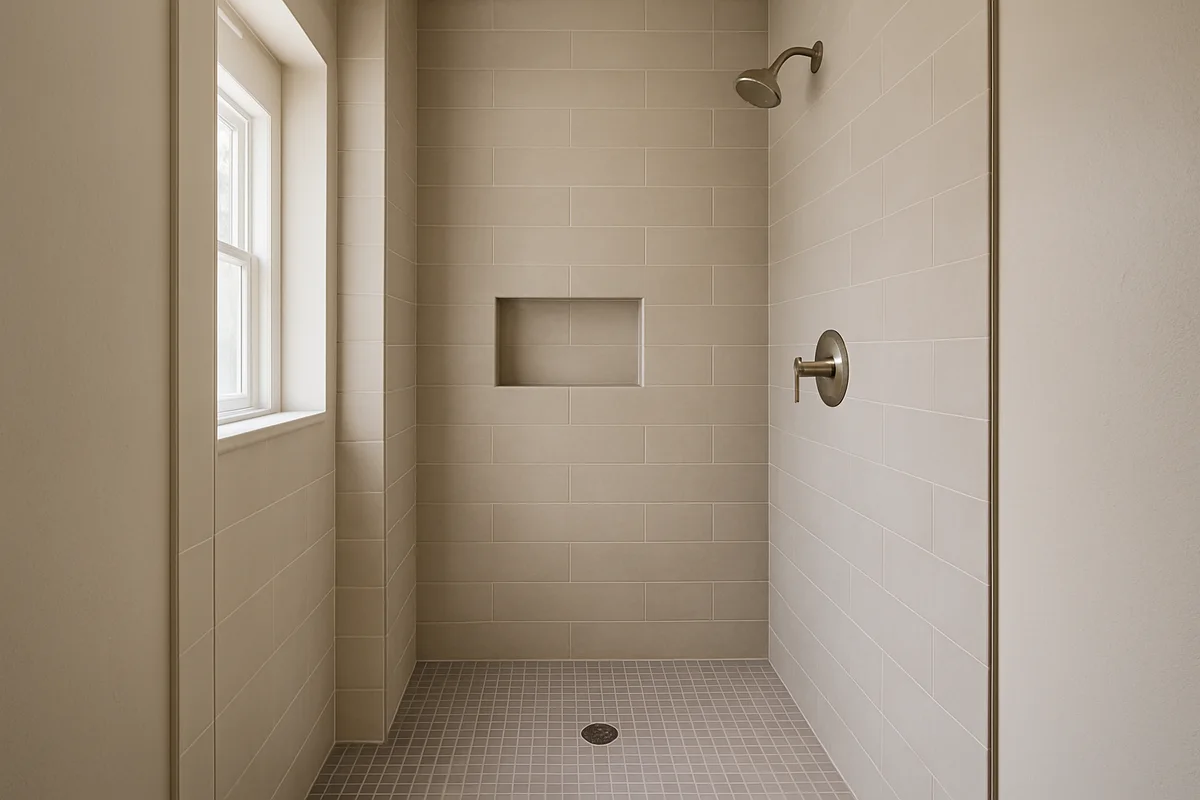
A shower is built from many small decisions that meet in one wet space. A niche can be handsome but too short for the bottles you own. A valve can be easy to reach or sit behind a glass panel. These details deserve a quick drawing before waterproofing and tile work begin.
Sketch the wall elevations
Ask the tile installer or contractor to mark the niche, controls, shower head, bench, and glass line on a wall drawing. Check the heights against the people using the shower and against the actual tile dimensions. The layout may shift to avoid a narrow sliver of tile at the ceiling or around the niche.
Confirm whether the niche is prefabricated or built on site, what waterproofing system is being used, and how the sill will slope so water drains back into the shower. Benches and shelves also need a water-shedding surface. These are installation details; a tile sample cannot answer them.
Choose trim with the layout in mind
Edge profiles, finished corners, and transition strips affect where cuts land. A metal profile can protect an exposed edge, while a mitered tile corner creates a different look and labor requirement. Ask for the installed cost of each approach and check that the selected trim is available in the needed length and finish.
Before work begins, verify that the tile, grout, trim, drain, and plumbing parts are on site and match the selected details. Keep an extra box of tile if the installer recommends it, especially for a patterned or limited-run product. A few minutes reviewing the elevations can prevent an avoidable compromise after the wall is covered.